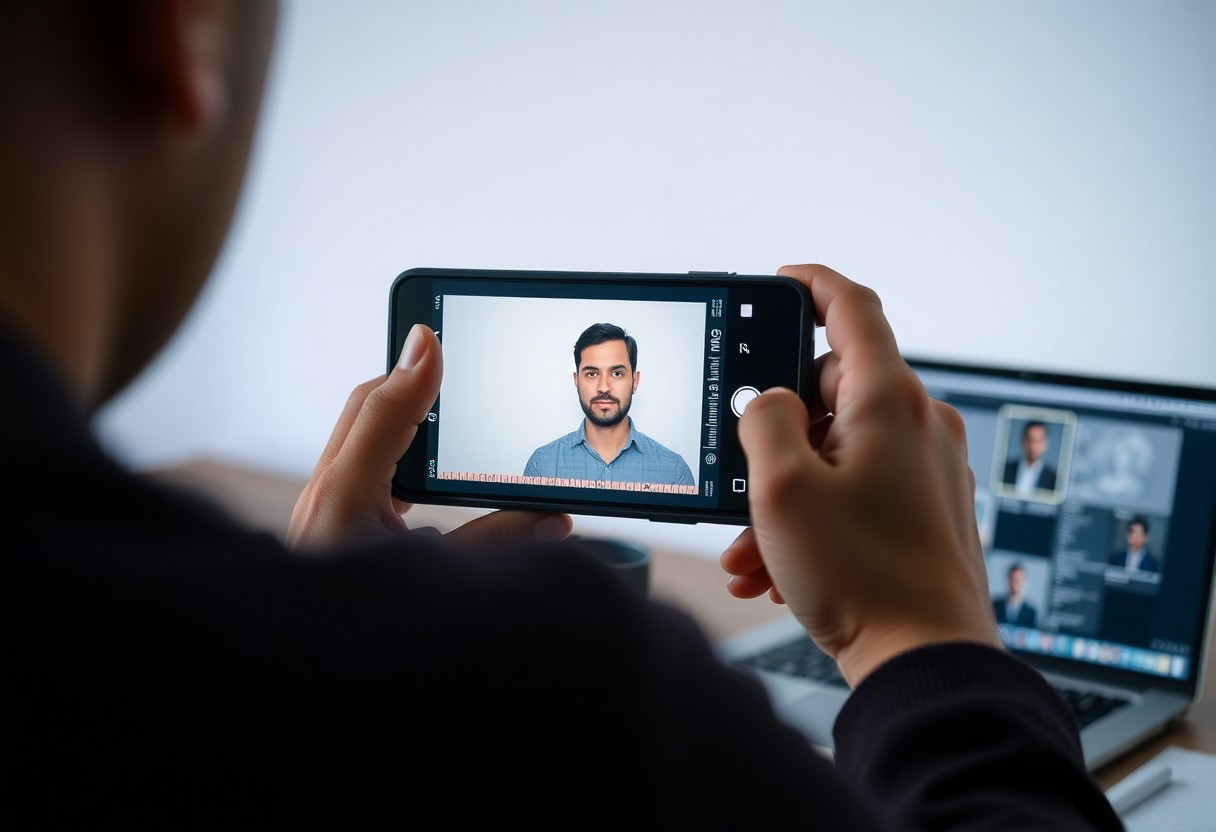
There’s nothing more frustrating than having your passport photo rejected due to technical violations. With so many requirements, it can seem daunting, but don’t worry—achieving a perfect passport photo is within your reach. In this guide, we’ll explore 9 practical methods to ensure your photo fulfills every specification, even when using your smartphone. You’ll discover tips on lighting, background, and pose that can elevate your photo from ordinary to acceptable. Plus, check out this resource on How to Edit Passport Photos Easily for Free for enhancing your final image.
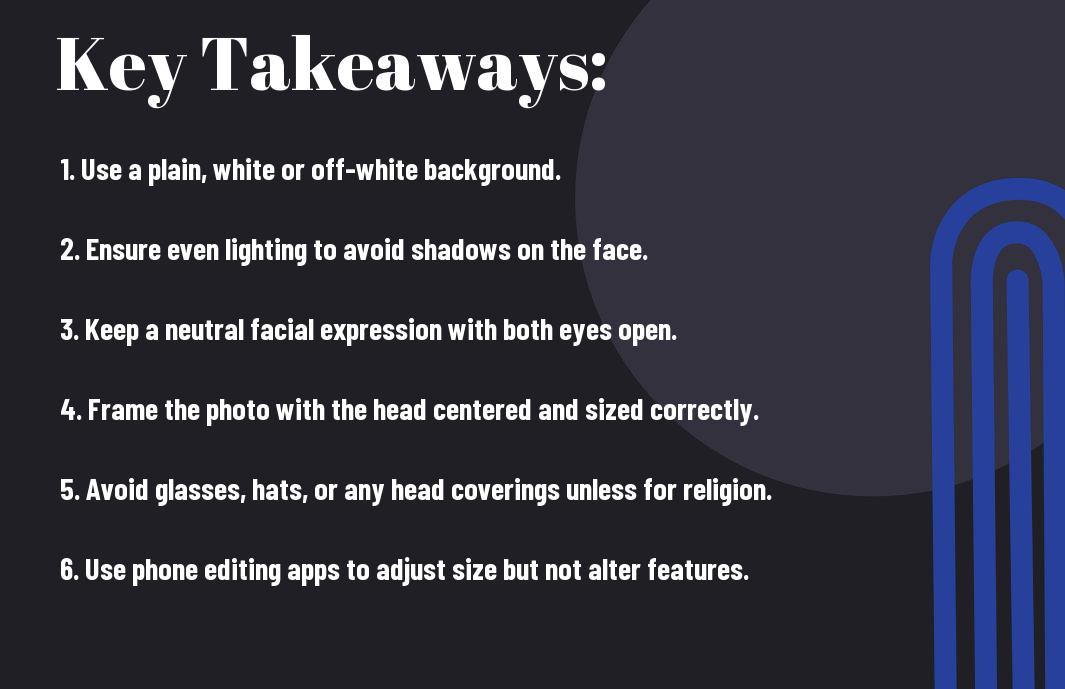
Key Takeaways:
- Utilize natural lighting and neutral backgrounds to enhance photo quality and meet official requirements.
- Follow specific guidelines for facial dimensions and positioning to ensure the photo adheres to all necessary passport photo specifications.
- Leverage smartphone editing tools to crop and adjust the photo to meet pixel count and file size criteria set by passport regulations.
The Key Specifications You Must Meet for Passport Photos
Meeting strict specifications is important for ensuring your passport photo is accepted without issues. Each country has its guidelines regarding dimensions, backgrounds, and even facial expressions. With a comprehensive understanding of these requirements, you can confidently capture a suitable image that adheres to official standards. Failing to comply with specifications can result in delays and added stress when applying for or renewing your passport.
Size Matters: Dimensions and Aspect Ratios
Your passport photo must adhere to specific dimensions typically set at 2×2 inches in the US. The aspect ratio of 1:1 ensures your photo displays a proper balance between width and height. Taking a photo that meets these measurements is fundamental, as discrepancies can lead to rejection by passport agencies.
Backgrounds: The Right Color and Texture
Choosing the right background plays a significant role in the acceptability of your passport photo. A plain, white or off-white background is ideal, ensuring your face is the focal point. Textured or patterned backgrounds can create distractions, while solid colors without shadows or reflections maintain clarity and compliance with governmental regulations.
Additionally, ensure there is a sufficient contrast between your background and your hair and clothing to avoid blending in. This means avoiding white or very light clothing against a white background. The absence of shadows on the backdrop is another critical detail; any shadowing can undermine the clarity of the image, making it appear unprofessional. Strive for a completely uniform backdrop for the best results in achieving the standards required for passport photos.
Lighting Techniques That Transform Your Mobile Photos
Proper lighting is vital for capturing a passport photo that meets all specifications. With the right techniques, you can enhance your mobile pictures, making them look professional and compliant. Whether you’re indoors or outdoors, understanding how to manipulate light can make all the difference in achieving that perfect shot.
Natural Light vs. Artificial Light: Which Works Best?
The best lighting for passport photos typically comes from natural light, especially during the golden hour just after sunrise or before sunset when the light is soft and even. That said, artificial light can also work effectively if you control it properly, particularly with diffusers or softboxes to minimize harshness. Choose what works best based on your surroundings, but opt for softer hues to avoid stark contrasts.
Avoiding Shadows and Glare: Tips for Flawless Lighting
To achieve a well-lit photo, keep an eye on shadows that can obscure your facial features and glare that might cause spots of brightness on your skin or in your eyes. Position yourself facing the light source, ensuring that your face is evenly illuminated without harsh lines. Additional tips, such as using reflectors or bouncing light off walls, help prevent any unwanted dark areas or shine, making your face appear even and clear. Recognizing how light interacts with your camera can significantly improve your results.
- Position your face towards the light source.
- Utilize reflectors to soften shadows.
- Avoid direct sunlight to reduce glare.
- Practice with different light angles to see what works best for your skin tone.
For flawless passport photos, understanding how to prevent shadows and excessive glare can elevate your image. A typical setup involves finding an area with even lighting, such as near a window or under an even artificial light source. Position yourself so that your face catches the light without creating harsh contrasts. If shadows are cast on your face, try experimenting with angles or bring in a soft white screen or reflector to bounce the light back at you. Recognizing these methods will take your phone photography skills to the next level.
- Find optimal positions to avoid shadows.
- Add a white screen to enhance light distribution.
- Test various lighting conditions until you find your perfect setup.
- Use mobile editing apps to fix minor flaws post-capture.
Composition: Framing Your Shot Like a Pro
Getting the right composition is necessary for a successful passport photo. Center your face within the frame, ensuring there’s ample space above your head and on either side. Use a simple background that contrasts with your appearance to keep the focus on your face. Strive for a head-and-shoulders shot that serves the requirements while still looking polished.
Head Positioning: Ensuring Proper Alignment
Your head must be straight and level in the frame. Keep your chin parallel to the ground and avoid tilting or tilting forward or backward. This alignment aids in creating a uniformity that’s necessary for identification purposes, as any misalignment can lead to rejection of your application.
Facial Expression: The Importance of a Neutral Look
A neutral expression is fundamental when taking passport photos. Maintain a relaxed face, with your mouth closed and eyes open. Subtlety counts; a genuine, calm expression can make a significant difference. Avoid smiling or showing teeth, as this can distort your facial features, leading to potential issues during processing.
A facial expression that radiates neutrality doesn’t mean appearing stern or unapproachable. Instead, think of how you look when you’re in conversation with someone, listening actively; that calmness works best for passport photos. Aim for a relaxed forehead, soft eyes, and a slight shift in your jaw to form a subtle yet effective neutral look. Achieving this will not only meet the passport requirements but also give your photo a professional edge.

Smartphone Settings and Editing Apps for Perfect Photos
Maximizing your smartphone’s camera potential is key to capturing a compliant passport photo. Adjusting settings such as focus, exposure, and white balance can dramatically elevate the quality of your image. Make sure your camera captures in the highest resolution available and switch to the portrait mode if your phone has it, as this can help in achieving the right depth of field.
Optimal Camera Settings for Passport Photos
When aiming for a passport photo, utilize a clean background and ensure good lighting. Set your camera to shoot at its highest resolution and avoid using any filters. Additionally, set the ISO to a low number (like 100 or 200) in bright conditions to minimize graininess, while ensuring that the focus is sharp on your face without any distractions.
Editing for Precision: Apps That Enhance Without Overdoing
Utilizing editing apps can fine-tune your passport photo without compromising authenticity. Look for apps like Snapseed, Lightroom, or Photoshop Express, which allow you to adjust brightness, contrast, and cropping easily. Aim for subtle tweaks rather than heavy filters, as passport photos must maintain a natural look.
Editing should focus on achieving an accurate representation of your features while adhering to official guidelines. For instance, you can adjust the brightness slightly to ensure your face is well lit and the background is adequately muted. Tools like Snapseed offer selective adjustments, letting you enhance specific areas without altering the entire image. Avoid using heavy filters or extreme edits, preserving your natural look, which is necessary for meeting the strict standards of passport photos.
Common Mistakes to Avoid When Taking Your Own Passport Photo
Taking your own passport photo can save you time and money, but there are several common pitfalls to steer clear of. Failure to comply with specifications can lead to rejection, so be mindful about lighting, framing, and expressions. Using a distracting background or inappropriate attire can compromise your photo. Ultimately, staying informed and focused on the guidelines will help you achieve a compliant image without unnecessary hassle.
Outdated Practices: What No Longer Works
Many outdated practices, like using flash photography or excessive filters, can undermine your passport photo. Flash often creates harsh shadows, while filters can alter color accuracy and make your photo look unprofessional. Also, traditional poses such as smiling widely or tilting your head don’t meet modern standards. Embrace the simplicity of natural lighting and a neutral expression to ensure your photo adheres to current requirements.
Oversights That Could Lead to Rejection
Your passport photo could be rejected for seemingly minor oversights, so attention to detail is key. Common issues include inappropriate background colors, shadows on your face, or wearing items like glasses that obscure your eyes. Always double-check that your head is centered and your face is clearly visible. Even something as simple as a hairstyle that touches your forehead can lead to problems. Consistency with the guidelines ensures your photo stands a better chance of approval.
Every little detail matters when it comes to passport photos. For example, a slight shadow over your face can look innocuous, but it may cause the photo to be rejected due to facial obscurity. Additionally, avoid clothing that blends into the background or distracts from your face. Even the color of your shirt can have consequences; bright or busy patterns may draw attention away from your features. To improve your chances of approval, take the time to adhere closely to all outlined specifications.

Conclusion
With these considerations, you can confidently capture passport photos that meet all specifications using just your phone. By following the nine outlined methods, you ensure that your images are well-composed, properly lit, and compliant with government regulations. Whether at home or on the go, you have the tools and knowledge to take high-quality passport photos that minimize stress and enhance efficiency. Your passport photo doesn’t have to be a hassle when you know how to achieve the best results.
Q: What are the main requirements for a passport photo?
A: Passport photos must adhere to specific standards set by the government. They should be 2×2 inches in size, taken within the last six months, and present a clear view of your face. The background must be plain white or off-white, and your expression should be neutral, with both eyes open and mouth closed. Glasses are generally not permitted unless they can be shown to have no glare, and the photo must be in color. Lighting should be even; shadows or reflections must be avoided.
Q: How can I ensure my phone captures a passport photo that meets the requirements?
A: To take a passport photo with your phone that meets the proper standards, use natural light to avoid harsh shadows. Setup in front of a plain white wall for a suitable background. Hold your phone at eye level to ensure your face is centered and framed correctly. Use the camera’s grid settings to help align your head and shoulders. Finally, utilize editing apps that allow you to crop the photo to the 2×2 inch size necessary, and ensure the final image meets all resolution and color criteria.
Q: What should I do if I accidentally make a mistake in my passport photo?
A: If you realize there’s an issue with your passport photo, the best course of action is to retake it. Common mistakes include poor lighting, incorrect background, or a non-neutral expression. Always check your photo against the Passport Photo requirements checklist. If editing solutions, like adjusting brightness or cropping, do not resolve the issues, try a different location or use an app designed specifically for creating passport photos. Ensure to take multiple test shots and review them for compliance before submission.